I acquired a #33533 Gas Station set whose yellow tanker had definitely seen better days. When I got it, the paint was chipped along the edges, worn in several places, and had completely lost its sheen. My goal was to restore it to it’s former glory, using the Testors Model Masters Spray Lacquer in Chrysler Yellow.
The first step was to lightly sand the finish to prepare it for the fresh paint layer. I didn’t want to take the paint all the way off since there was plenty of paint there that could serve as a base for the fresh coat, but rather the remove any dirt and smooth out any rough spots so that I’d have a nice, smooth finish when I was done.
The sanded tanker is shown below. Note that even with my light sanding, there are still some significant rough spots in the tanker’s finish. This piece had definitely seen some rough play.
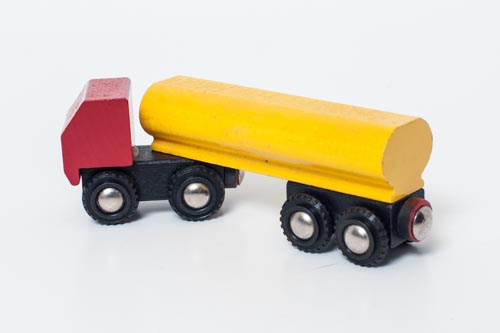
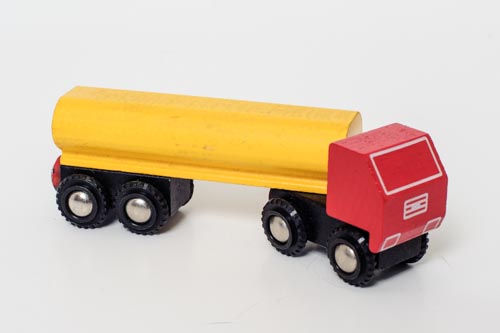
Next up was masking off the wheels. This was delicate work, since I had to get tape between the wheel and the undercarriage along the top edge where it meets the tanker body. I had to tear the tape into thin strips to have something narrow enough to fit between the axel and the tanker body to form a nice line here. Then I used more tape to completely enclose the wheel assembly. I recommend using ScotchBlue painters tape for delicate surfaces since it has a milder adhesive than regular masking tape, which will prevents damage to existing finishes. It comes in three widths and I find all are handy to have.
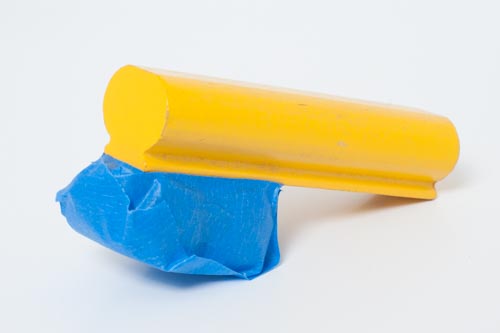
For spraying, I placed the part on a grill so that it was not resting directly on the ground. This not only prevented paint drips from pooling around the edges, but also provided extra airflow for drying. My grill was just a scrap piece of wire shelving, left over from a shelving installation in the garage.
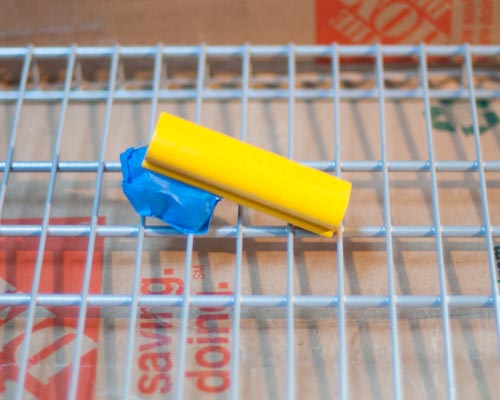
The Model Masters spray lacquer is a fairly thick paint, but it applies in nice, even coats. The tanker, like most BRIO parts, is a fairly small target relatively speaking so I held the can fairly close—about 6 to 8 inches away—and applied the paint with smooth but brisk strokes. I used three passes, allowed the paint to dry for a few minutes, and then repeated. After the second set of coats had dried to the touch, I turned the part around and repeated the procedure on the other side. Then I let the part dry over night before spraying the underside, since this meant turning the tanker on its back. The paint does not really start to cure for a few hours, so doing this too soon would have marred the new finish.
The Model Masters custom lacquer system is a two-part paint system, consisting of both a base coat and a clear coat. The clear coat must be applied within 24 hours in order to properly bond with the paint layer. I found that the paint layer has sufficient gloss to it that it was not necessary to add a clear coat, so I left it as-is.
Here’s the finished truck:
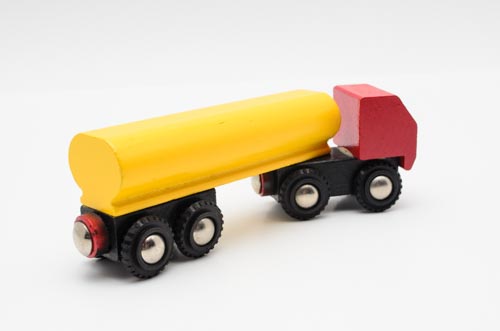
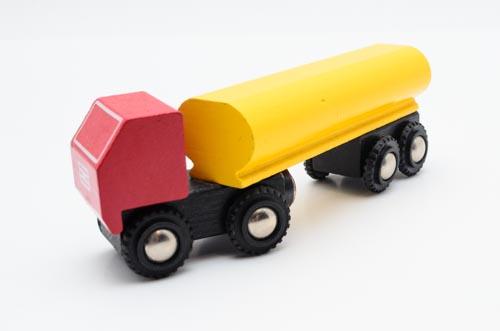
The paint finish has a nice sheen and looks clean and smooth. The paint did not perfectly flow into the grooves (which I did not clean very well), but by and large the tanker looks significantly better than it did before. The formerly chipped edges are a slightly thinner yellow than the rest of the body since I did not do a “proper” paint fill—filling paint chips correctly is a laborious and time consuming process involving slowly filling the chip to build up the paint layer, sanding, and then refinishing—but they are good enough.
The next step is patience. Paints dry in hours, but take days to fully cure. During the curing process, the solvents in the paint evaporate and the paint layer hardens, forming the wear-resistant finish. Exactly how long it can take for paint to hard-cure varies with temperature, humidity, and the number of layers of paint that have been applied, but as a general rule you should allow 30 days for the process. This is especially important if you intend for children to play with the refinished toy: paints are not safe for toddlers until the solvents have evaporated.