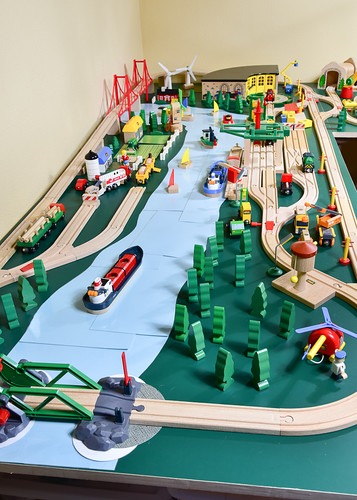
My most recent layout featured a river running through the center of one of the tables, constructed from standard 12″x12″ scrapbook cardstock. Here’s how you can build your own.
Acquire your cardstock squares
In the U.S., the standard scrapbook cardstock size is a 12″ square, but the exact size doesn’t really matter so long as it’s large (at least 8 inches) and roughly square in shape. U.S. cardstock squares are actually a little longer in one direction to accommodate the barcode label and that excess length is trimmed away with a paper cutter.
The more squares you have the more flexibility you’ll have in your river shape so get more than you think you need. Each square is a foot long, but youll need some overlap to ensure a seemless river. A good rule of thumb is to have 25% more length in cardstock than you need on your table.
Make sure your cardstock has the same color or pattern on both sides. You’ll have more flexibility in forming your river if you can flip the pieces over.
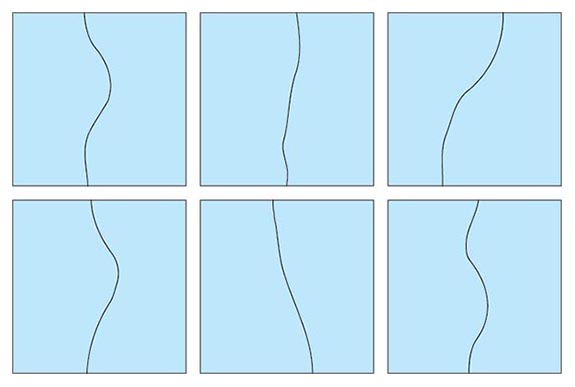
Cut your squares in half
Divide each cardstock square roughly in half using a wavy cut. The center cut will become your shoreline. Experiment both with center-to-center cuts and with offset cuts so that you have pieces that can both widen and narrow your river.
Consider having your tiles hot laminated for durability.
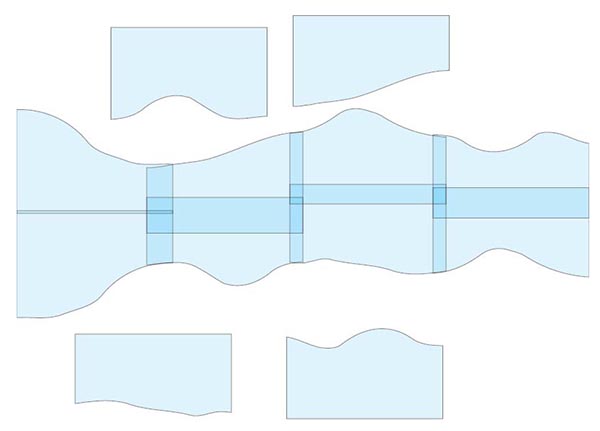
Arrange your river tiles
The straight edges should be in the center of the river and the wavy cuts should be on the outside. Overlap the pieces as needed to sensure a smooth shoreline.
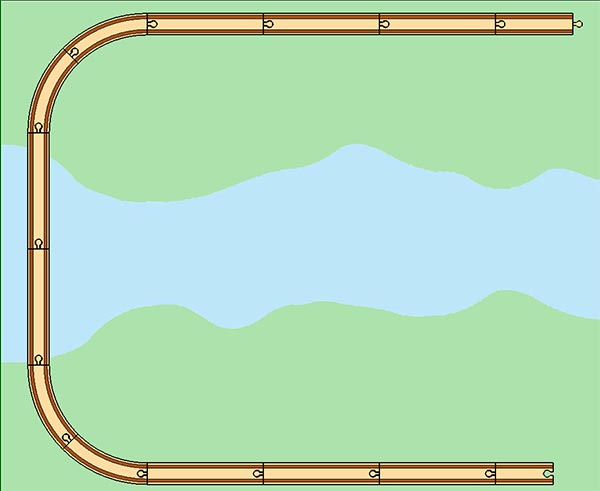
Here’s what the above example looks like in a layout:
Experiment with rotating some of the pieces, as well as having more overlap, in order to give you more options on shaping your river. As you can see in the layout photo below, I made use of angled tiles.